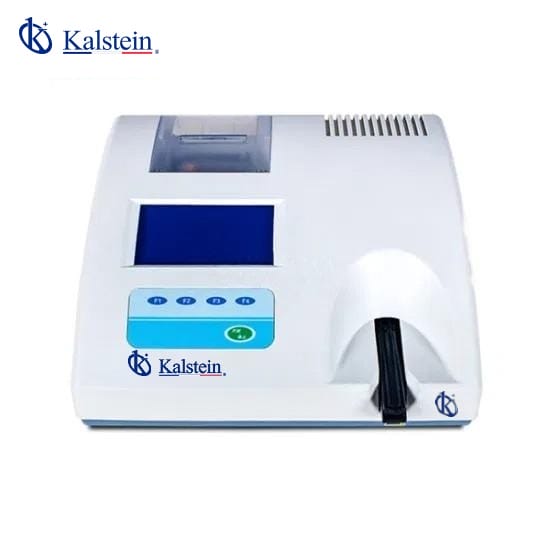
Installation and Startup Guide for the YR06175 Veterinary Urine Analyzer
The YR06175 Veterinary Urine Analyzer is a sophisticated piece of laboratory equipment designed to streamline the process of analyzing urine samples in veterinary practices. Proper installation and startup are critical for achieving accurate results and maintaining the longevity of the device. This guide will walk you through the essential steps needed for a successful setup.
Unboxing Checklist
Before installation, it’s important to verify that all items are included in the package. Here’s a checklist to ensure you have everything required for the installation:
- YR06175 Veterinary Urine Analyzer
- Power cord
- User manual
- Calibration strips
- Thermal printer paper
- Software installation disk (if applicable)
Site Requirements for Installation
To ensure optimal performance of the YR06175, it's essential to adhere to specific environmental conditions. The following table outlines the requirements:
| Condition | Requirements |
|---|---|
| Temperature Range | 15°C to 30°C |
| Humidity | 30% to 70% RH |
| Voltage Supply | AC 110-220V, 50/60Hz |
| Ventilation | Well-ventilated area to prevent overheating |
Anchoring and Leveling the YR06175
For stability and accuracy, the YR06175 should be placed on a flat surface. Leveling the analyzer is crucial, so check using a level tool. If required, adjust the feet of the unit to ensure it sits evenly on the surface. Ensure that the device has sufficient clearance around it for airflow and maintenance access.
Power-Up Sequence
Once the device is positioned correctly, follow these steps to power it up:
- Connect the power cord to the YR06175 and plug it into a power outlet.
- Press the power button located at the front of the device.
- Wait for the LCD screen to fully initialize and display the main menu.
First-Run Calibration
Calibration is essential for ensuring the accuracy of the YR06175’s measurements. Follow these steps for calibration:
- Access the calibration option in the main menu.
- Insert the calibration strips provided with the device when prompted.
- Follow the on-screen instructions to complete the calibration process.
Validation of First Measurement
After calibration, it’s time to validate the performance of your YR06175:
- Prepare a test sample according to the guidelines provided in the user manual.
- Insert the sample into the analyzer.
- Record the results displayed on the screen.
Compare the results to expected values to ensure the analyzer is functioning correctly.
Common Setup Mistakes
Users often encounter issues during the installation and startup of the YR06175. Here are some common mistakes to avoid:
- Improper leveling of the device can lead to inaccurate readings.
- Neglecting to calibrate before first use may result in erroneous results.
- Powering the device in an unsuitable environment can damage the unit.
Technical Specifications of the YR06175
To better understand the capabilities of the YR06175, refer to the following technical specifications:
| Specification | Details |
|---|---|
| Model | YR06175 |
| Category | Veterinary Analyzer |
| Gross Weight | 7 kg |
| Processing Capacity | Standard Mode: 60 samples/hour; Fast Mode: 120 samples/hour |
| Screen | 5
Want to explore this device in depth?Check the full technical datasheet of Veterinary Urine Analyzer YR06175 with all specifications, dimensions, accessories and quote options. View product datasheet → |