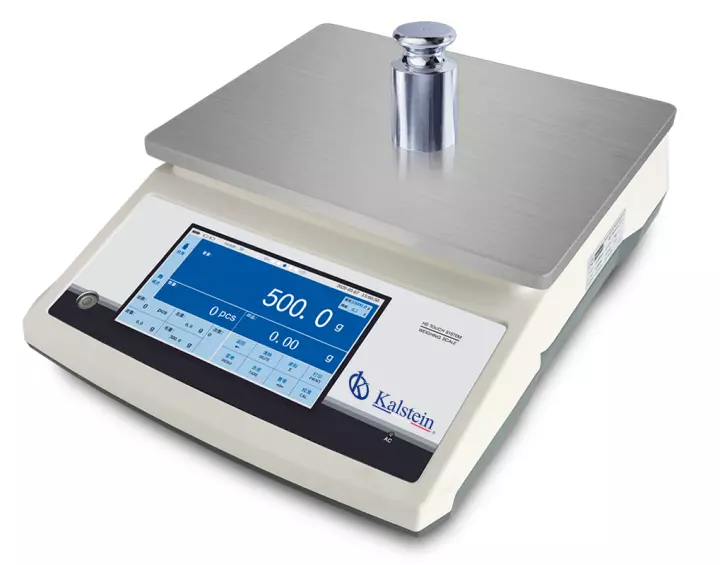
The most common types of laboratory balances and scales are ultramicrobalances, microbalances, semi-microbalances, analytical balances, and precision balances.
The readability of a balance is the minimum difference between two measured values that can be read on the display. On a digital display, this is the smallest numerical increment, also called a “scale interval.” The readability of a balance does not equal its weighing accuracy.
What is the difference between mass and weight?
The terms “mass” and “weight” are often used interchangeably, and the truth is that they are two values determined by weighing; However, when it comes to balances and laboratory scales, the difference between the two is fundamental. Mass measures the amount of material present in a given element, it is independent of its location and remains constant regardless of its surroundings. Mass is measured by comparison, using a laboratory scale and balance. The kilogram is the SI unit of mass.
The weight of an object is the gravitational force exerted on its mass. The SI unit of weight is the newton (= 1 kg x m / s2). An object with a mass of 1.0 kg weighs approximately 9.81 newtons at the surface of the Earth (the mass multiplied by the Earth’s gravity). The weight of an object on a mountain will be less than that at sea level, due to gravitational variations: a high precision laboratory scale or balance will detect these differences.
How do you choose the right balances or laboratory scale?
To get an accurate measurement, let’s keep the following in mind:
- Required Weighing Accuracy – Sets the upper limit of the scale’s allowable measurement uncertainty to ensure process tolerances, e.g. ex. 1 %.
- Safety factor: ensures that the required weighing accuracy will be maintained even with changes that occur over time.
- Required Minimum Net Weight to Weigh – Specifies the minimum weight the laboratory scale should achieve (based on measurement uncertainty or customer process tolerances).
- Highest Expected Weight (Including Tare) – Specifies the capacity of the lab scale.
- Environmental Conditions and Weighing Application: Specify other properties of laboratory balances and scales.
What tolerances are applicable in weighing processes?
Tolerances determine whether a laboratory balance or scale performs “well enough” to meet the requirements of a process and how much deviation is allowable. Tolerances define the criteria for reporting a statement of pass or fail.
- Legal tolerances: Evaluate the requirements of applications with legal authorization for commerce.
- Manufacturer tolerances: They guarantee that the equipment meets the manufacturer’s specifications. Manufacturers’ tolerances do not take into account specific process requirements and are not helpful in improving the weighing process.
- Process tolerances: The specific process tolerances, defined by the user, are useful for improving the process, saving material, reducing waste and reducing reprocessing. For laboratory scales used in legally licensed applications for trade, process tolerances should be applied in conjunction with statutory tolerances.
At Kalstein we provide you with an excellent range of balances for your laboratory. That is why we invite you to take a look at the “Products” menu. HERE


